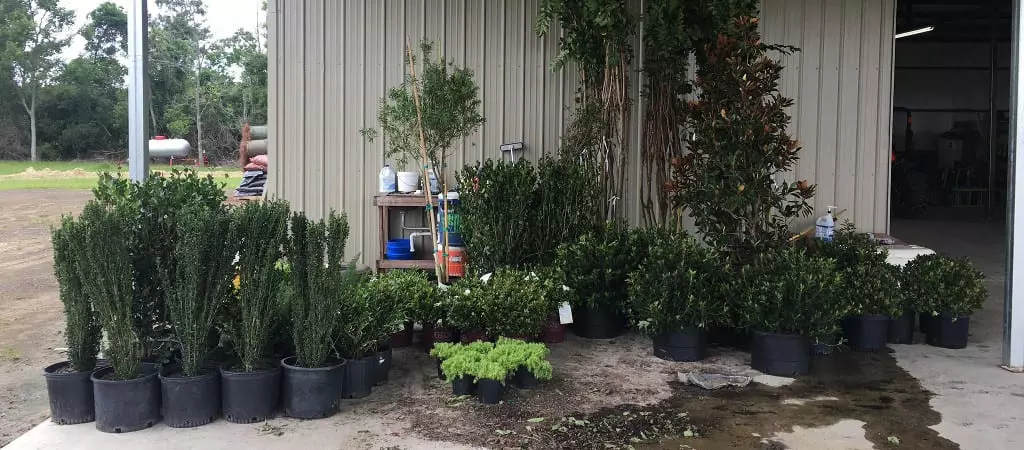
You envision a garden with vibrant colors, but before you head to the nearest nursery, talk to a landscape maintenance services and grass cutting services professional to get guidance on buying the right plants and installing them in your yard.
There are so many options to choose from that one can almost go dizzy, but when it comes to selecting plants for your garden, there are a few things to keep in mind like –
- Where you’re planning on installing them
- What their soil, water, and sun needs are
- How much after care do they require
Planning for the longer term with your grass cutting services team
 If your plan is place plants in different places around your garden, it’s important to talk with your grass cutting services team to ensure that the plants and grass can peacefully coexist without encroaching on one another or being in danger of accidentally getting run over by the mower or trimmer. Your grass cutting services team or landscape maintenance services team could guide you on where to place your plant and also advise you if a flower or plant bed would be the best way to go. They can even help you with plant placement before the installation to ensure that you have an actual visual of what the end result will look like before you dig.
Transplanting the plants
If your plants don’t come with transplanting instructions, be sure to ask someone at the nursery or even your grass cutting services team for advice. If you have many different plants that you’re installing, it’s probably best to engage a landscape maintenance services team for the job.
There are a couple of aspects to think of when transplanting plants. If the area where you’re installing them needs to be cleared, it’s best to get the area prepared beforehand and ensure that the soil can be easily dug up to make a home for your new plant. Each hole should be large enough to accommodate the root ball of the plant with a little extra space all around.
When purchasing the plants, ask if the plants need to be hardened. The hardening process involves leaving the plants outside for a few hours in a shady area, then bringing them in. Increase the duration each day. In about a week’s time, they should be outside all day.
 When installing plants that are in a small container, it may be easy enough to carefully turn the pot over, tap the container, and slide the plant out. Before turning over the pot though, carefully support the plant between your fingers to ensure that the stem doesn’t snap or the plant doesn’t fall out. Take the plant and existing soil, and carefully place it in it’s new home. If there’s some space between the plant and the hole, add some soil around it, but avoid packing it down to give the roots some room to breathe. Water your plants after installing them.
If your plants are in a bigger container, use a shovel to circle around the inner circumference of the pot to loosen the dirt. Carefully lift the plant out of the pot and place it in it’s new home.
Transplanting plants can be a big daunting if you’ve heard of or experienced transplant shock. Plants that aren’t installed correctly can result in damaged roots, stems, or even completely failed transplants.
Here are a couple of tips to help you along your way –
- Be careful while digging to ensure that there are no pipes or underground cables that could get damaged.
- Keep the pots or seedling containers that your plants came in. These are great for starting your own plants at home.


